Posts

Budget Friendly Bridesmaid Gift

Image
To continue with my bridesmaid gifts, I fell in love with the idea of a tote bag for my girls. One that would be embroidered with their name. I reached out to our local embroidery shop and if I ordered totes from them, they would be $14 and up... once again it was a little more than my price range. With patience comes reward and I was able to find the totes in my price range. Once again Hobby Lobby to my rescue! I had purchased 5 canvas bags with "Hello" written on one side in gold. I was able to use a 40% off coupon for one bag, but I didn't risk waiting to purchase one a week (to use the 40% off coupons) and have them gone, so I bought all 5. Well to my surprise, the next time I went to Hobby Lobby, they had canvas, gold dot bags on clearance for $1.36! So I bout the 5 that they had and returned 3 of the 5 'Hello' bags. I kept 2 of those for my junior bride and flower girl. I was able to take them to my local embroidery shop and have the names placed for $5 ea

Rustic Jewelry Wedding Gifts

Image
I will be getting married in June. Our wedding is an outdoor/rustic theme... very popular right now, but it fits our personality to a T! We are watching our dollars very closely and pinching pennies where possible. This is my second marriage and I feel like I wasted a lot of money on my first wedding (not just because it wasn't a success) in places that didn't need. One area where I found to save money, is on the gift to my bridesmaids. We are having a wedding party of 5 on each side, so it could get costly if we are not careful. Out goal was to stay under $100 for 5 gifts, and I was able to do this in more ways than one! I wanted my girls to have uniform jewelry and I wanted it to have a rustic feel. I did many searches online but I wasn't able to find a necklace and earring set in the price range I was hoping for. So I started exploring at my local craft stores (Michael's & Hobby Lobby) to see if there was something that I could craft for them and JACKPOT! I was

Glow Run Fun

Image
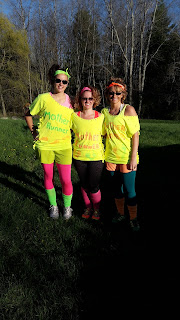
My friends convinced me to try some 5k's in 2016. Our first one was a glow run that offered a prize for the 'best dressed'. We weren't really sure how to proceed... We all love to dress up for Halloween and usually take it to the limit, but a run was something we hadn't encountered before. We decided to play it a little safe and dressed like 80's workout girls. It was something we could easily move in and not too 'out there'. In the process of creating our costumes, we all discovered our common birth year of 1987 and 'The Mother Runners' were born! Established in 1987 of course! We didn't win first prize, but had a lot of fun and decided to go all out the next year. So after some online research this year, we stumbled onto our costumes for 2017... Lightning bugs! And honestly, lightning bugs get so little credit. Almost all costumes are butterflies, bees and lady bugs. We were out to change that! Again, we wanted it to be somethi

Monthly Meal Planner

Image
Like many people, we struggle with evening meals. What to make, what do we have ingredients for or what do we have time for. I've seen posts about making a months worth of meals in a day and placing them in the freezer. Seems like a good idea, but one that isn't practical for my family. With things about to get crazy with me going back to school, two parents with full time jobs and a crazy 3 year old, I figured if I could make things simpler, now would be the time. I compiled a calendar with 31 days and each day is a different meal. On Sunday we look at the meals for the week to determine what we need from the store, that way there are no last minute trips for something we need. This is not something set in stone. Obviously if we go out to eat or want to try something new, we can simply slide it into place. I also put additional meal options into an 'extra' category if we want to mix things up. I plan to use this every month, and we can adjust as needed. The purpose

New Tradition

Image
My daughter and I moved into a new house this winter. This spring I bought an apple tree (I've always wanted one) and every year I am going to take her picture next to it to show the growth of the tree and her! So here is the start to a new tradition!

Hummingbird Nectar

Image
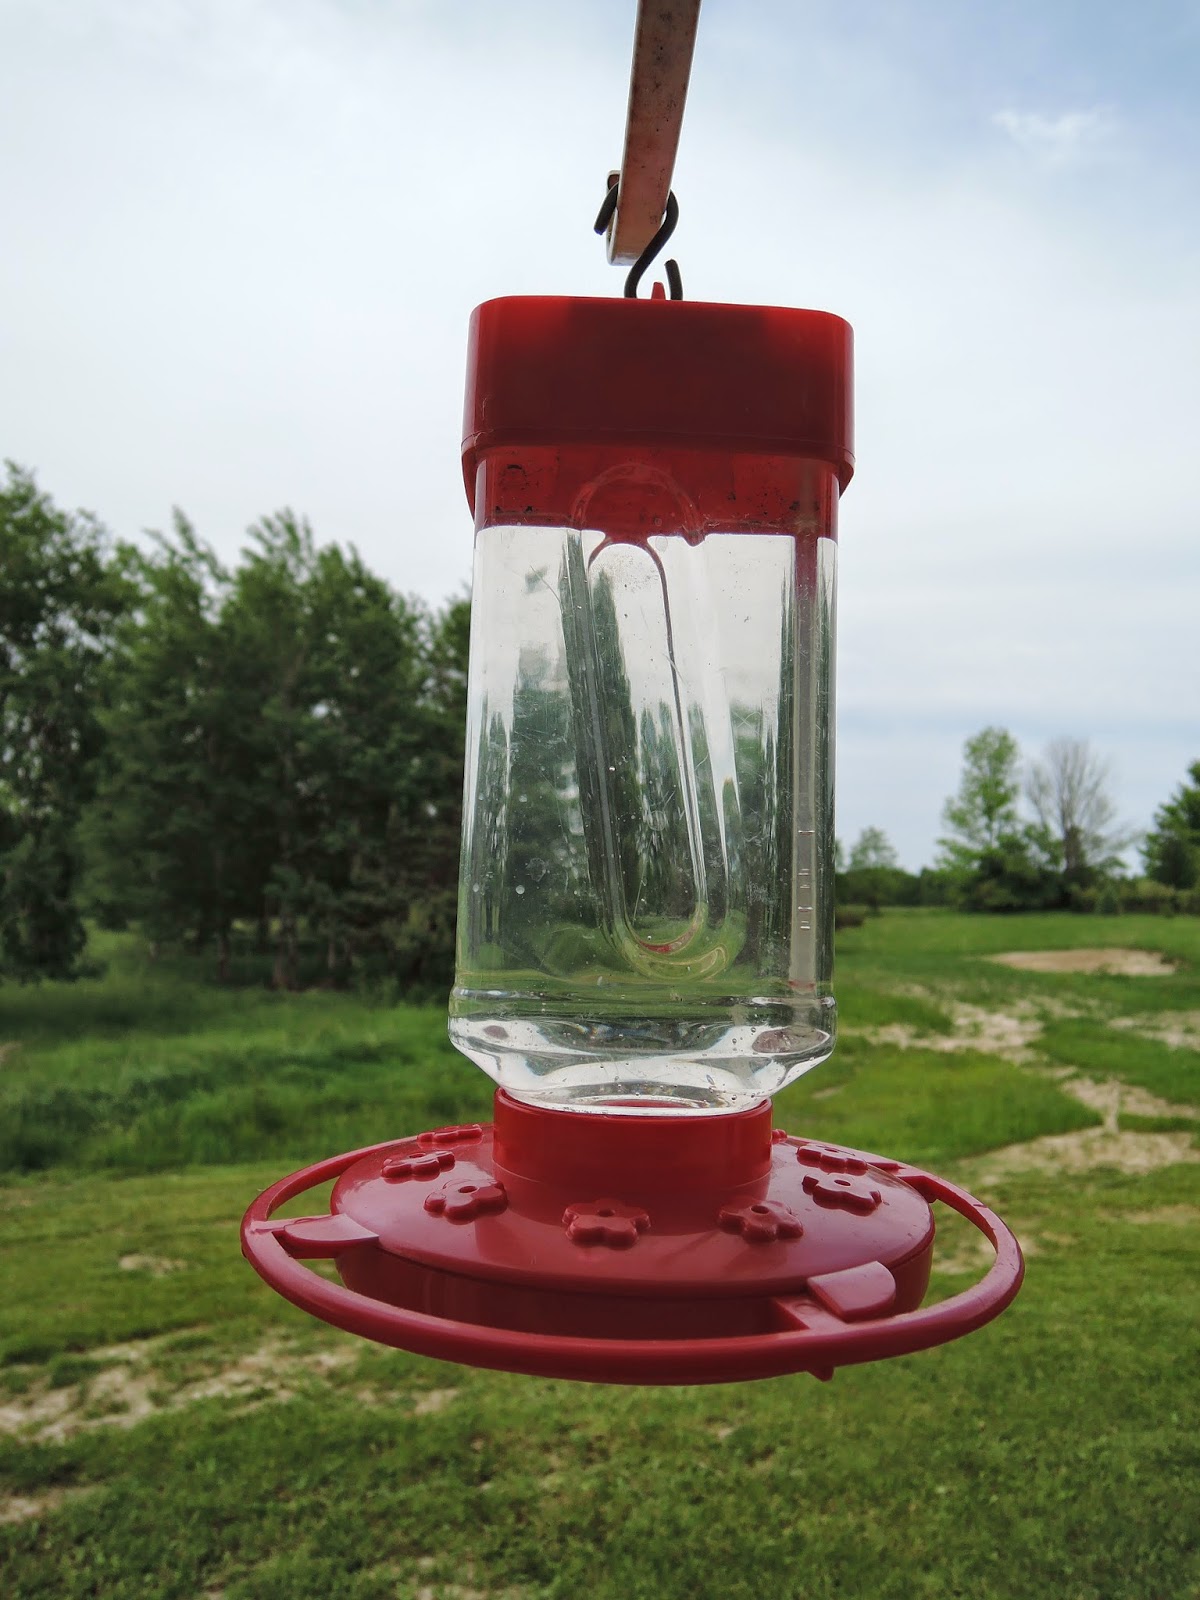
It's that time for the hummingbird's return to Northern Michigan. I had one swarming around my red plant in the window, so I mixed up a batch of nectar. It's much cheaper that buying pre-made stuff in the store and it doesn't require much to make it! Ingredients: 1/4 cup white sugar 2 cups water Directions: Bring water to a boil in a covered pot. Remove from heat, add sugar and stir to dissolve completely. Allow time to cool completely before adding it to your feeder. If you add it when it's too hot, you may melt your feeder!

Baby and Baby Horse

Image
My sister works for a guy who's sister races barrel horses. Well this morning one gave birth to a Cremello colt. She called to tell me about it and mentioned taking a photo of my daughter with the new baby. That was all she had to say! We went over in and instant! We took some time petting and talking to Mama horse so she would feel comfortable with us. And this is what we captured! He was only a couple hours old and if we would waited until he was much older, we may not have gotten any photos. This was a once-in-a-lifetime photo opportunity and my daughter and I will cherish this forever! Her bedroom is cowgirl themed, so this will match perfectly. We also got one of Mama and baby horse with Auntie and my daughter.

Bottle Cap Coasters

Image
Once again, it’s that time of the year again… Time to make a homemade Christmas gift for our annual exchange! My family is ‘outdoorsy’ and the gift needs to remain gender neutral. After looking through the internet for ideas, I decided on two things I could pair together. Today I decided to tackle the first project… Bottle cap coasters. Materials (for one coaster): 9 Bottle Caps 6 Eye pins Hammer Nail Board Black Felt             I purchased a package of 315 eye pins from Wal-Mart for $4 and 9”x12” sheet of black felt from Michaels for 30 cents. One sheet fit 6 coasters with a little left over.                                Directions: 1.        Collect 9 bottle caps you want to use in your coaster. And arrange as you like 2.        Use hammer and nail to carefully poke small holes in the cap so they may be strung together. This is pretty tedious in making sure all holes line up together. If they don’t your coaster will have trouble laying flat

Whiskey Bottle Soap Dispenser

Image
This is what I decided to pair with my bottle cap coasters. It fit the theme and seemed simple to make. Materials: Empty whiskey bottle (I used the smallest half-pint size) Soap dispenser                                  Liquid yellow soap            Clear spray paint Double sided tape Scrap paper     I’m not a whiskey drinker and don’t know anyone who is… So I bought the whiskey, emptied it into another container so others could enjoy it on Christmas day! But if you know someone who has the bottle already, it will help save on cost. The dispenser is actually a shampoo dispenser that I got from Sally Beauty Supply for $2.00.   I bought the big 40oz bottle of soap for $3.00 so I could use the left over in my soap dispensers at home. And the spray paint was $3.79. So the total was $8.79 plus whiskey bottle cost if needed and you don’t use all the spray paint or soap! Still cheaper than a lot of store-bought dispensers! Directions: 1.        I di